Razor MX650 User Manual
Browse online or download User Manual for Toys & accessories Razor MX650. Razor MX650 User's Manual
- Page / 18
- Table of contents
- TROUBLESHOOTING
- BOOKMARKS
Summary of Contents
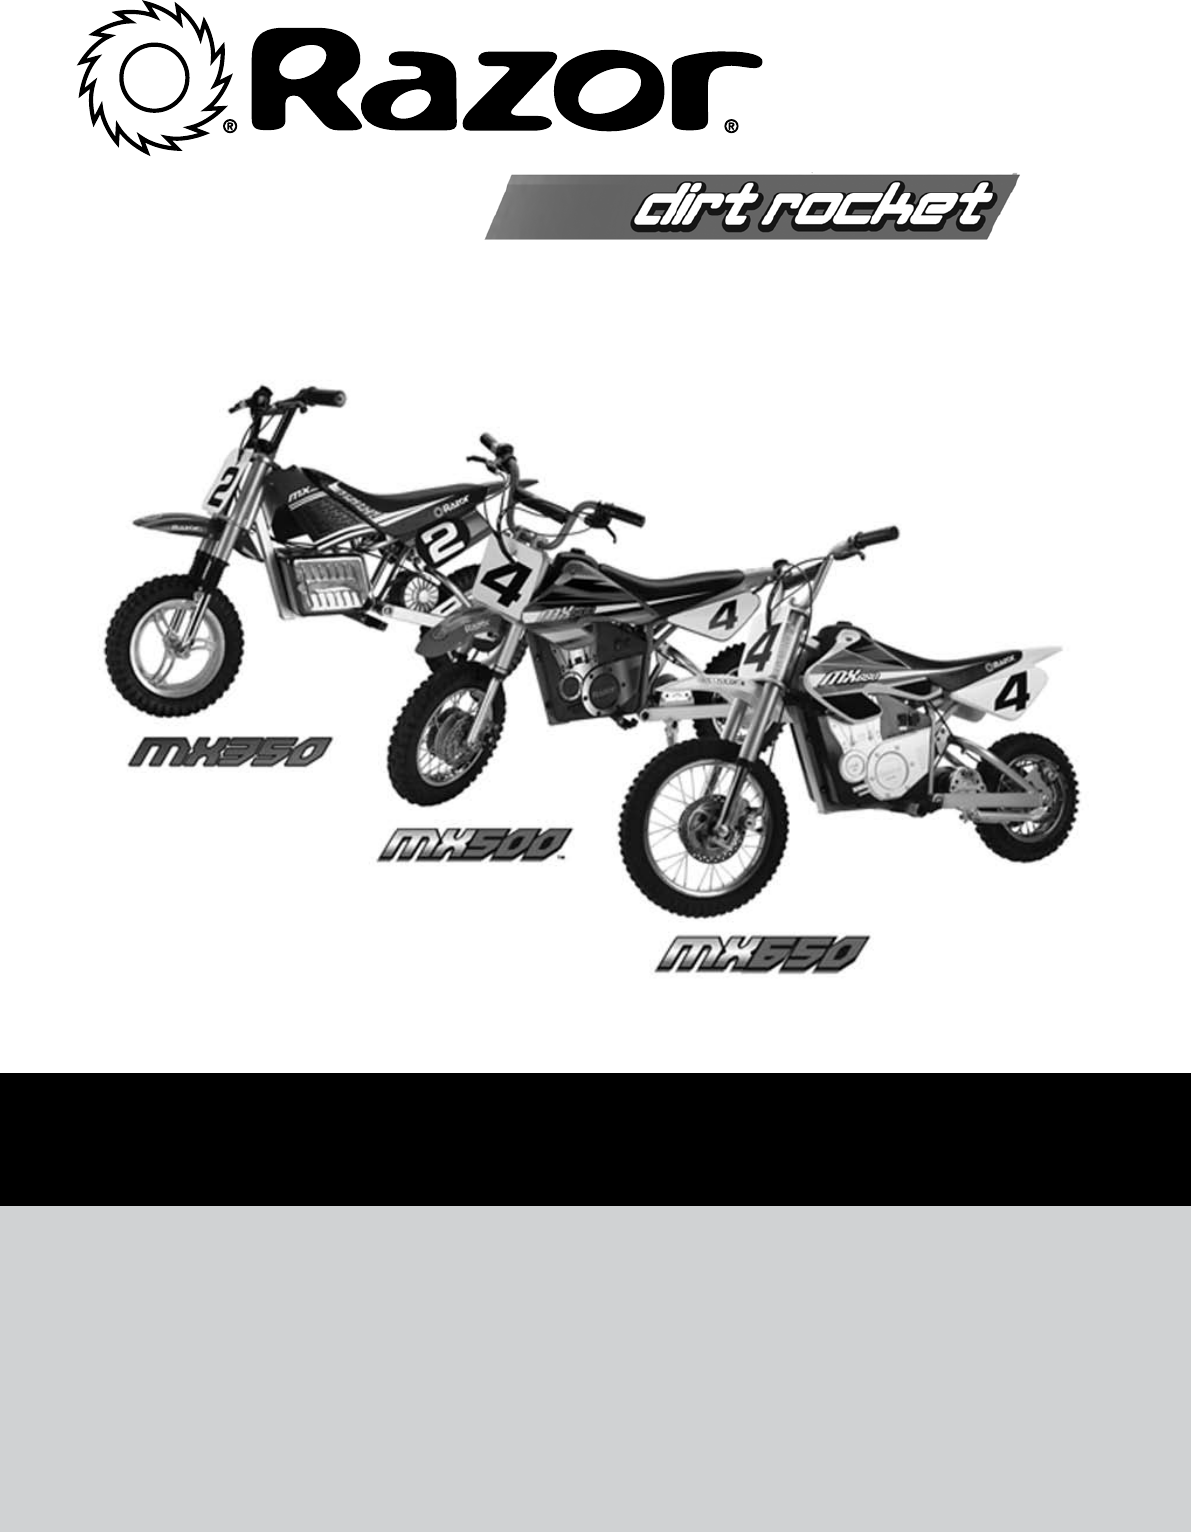
TMOWNER’S MANUALRead and understand this entire manual before riding!Item Numbers: Dirt Rocket MX350 15128050 Dirt Rocket MX500 15128190Dirt Rocket MX
9 REPAIR AND MAINTENANCE q Chain and Sprocket The chain will typically have a “loose spot” and “tight spot” corresponding with a particular sprocket r
10SB 1918 (CALIFORNIA) DECLARATIONYOUR INSURANCE POLICIES MAY NOT PROVIDE COVERAGE FOR ACCIDENTS INVOLVING THE USE OF THIS SCOOTER/ELECTRIC VEHICLE. T
11Vehicle does not runVehicle was running butsuddenly stoppedShort run time (less than 30 minutes per charge)Vehicle runs sluggishly TROUBLESHOOTING
Sometimes the vehicle doesn’t run, but other times it doesCharger gets warm during useVehicle does not stop when applying the brake Vehicle makes loud
13Keep your MX350 running for years with genuine Razor parts. Visit our web site or e-mail us for more information on spare part availability. (Speci
MX350 PARTS14
15Keep your MX500/MX650 running for years with genuine Razor parts. Visit our web site or e-mail us for more information on spare part availability. (
MX500 / MX650 PARTS16
Tire Inflation Periodically inspect the tires for excess wear and replace as required, and regularly check the tire pressure and re-inflate as necessary
WARNING: Riding an electric motorbike can be a hazardous activity. Certain conditions may cause the equipment to fail without fault of the ma
Remove contents from box. Remove the foam separators that protect the components from damage during shipping. Inspect the contents of the box for scra
Attaching the Front Forks – MX3502 Insert the spacer sleeves on the top and bottom of the frame.3 Slide the fork into position and insert the steerin
1 Using a 5mm hexagonal key wrench, remove bolts from handlebar clamp.2 Place handlebars in handle-bar clamp and adjust angle parallel to the fork.3 I
1 To adjust the play, thread the brake lever adjuster in or out 1/4 to 1/2 turn until the desired brake adjustment is attained. Most adjustments are
6 REPAIR AND MAINTENANCE q Chain and Rear Tire Replacement – MX350 Tools required: 10mm wrench, two (2) 8mm wrenches, and two (2) 17mm wrenches.2 Wit
REPAIR AND MAINTENANCE q Chain and Tire Replacement – MX500 / MX650 Tools required: Phillips screwdriver and two (2) 17mm wrenches.1 Loosen screw an
8 REPAIR AND MAINTENANCE q Replacing the Fuse – MX350 / MX500 / MX650 WARNING: To prevent shock or short circuit, please follow the instruct
Related products and manuals for Toys & accessories Razor MX650
 (14 pages)
 (29 pages)
© 2020, manymanuals.com. All rights reserved. | 0.760 s |
 Manymanuals.com
 Manymanuals.de
 Manymanuals.fr
 Manymanuals.it
 Manymanuals.pl
 Manymanuals.cz
 Manymanuals.es
 Manymanuals-pt.com
Comments to this Manuals